Its nice to know that we are all a part of a tight knit fly fishing community. It is also refreshing to see such a high level of honesty and integrity from such a well mannered young man. It is apparent that Robby has a good head on his shoulders and we at the shop are thankful to have him as part of our fly fishing community. From all of us here at A Marblehead Flyfisher we would like to say thank you!
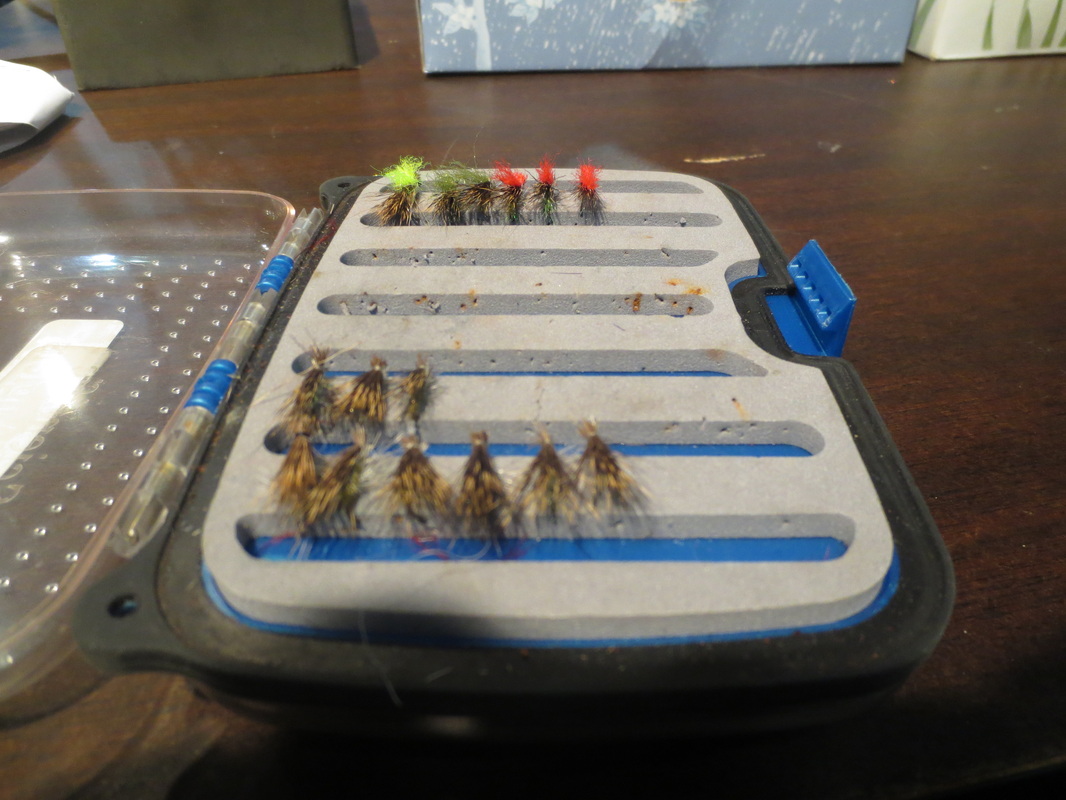
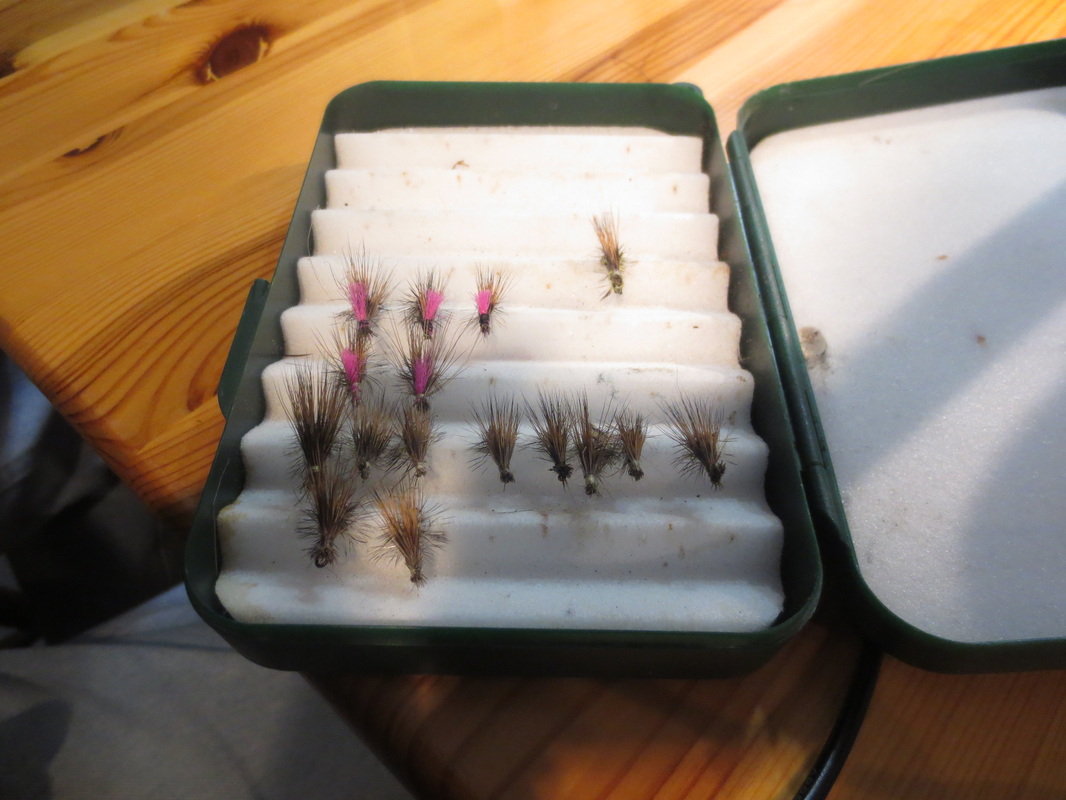
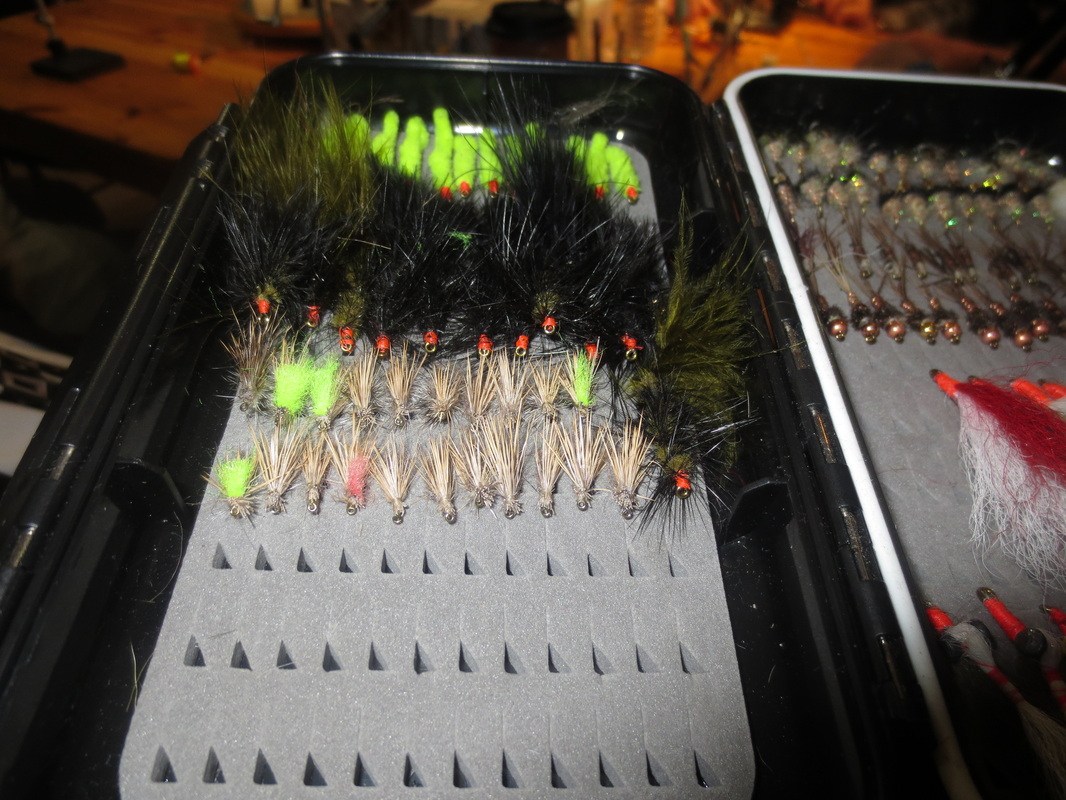
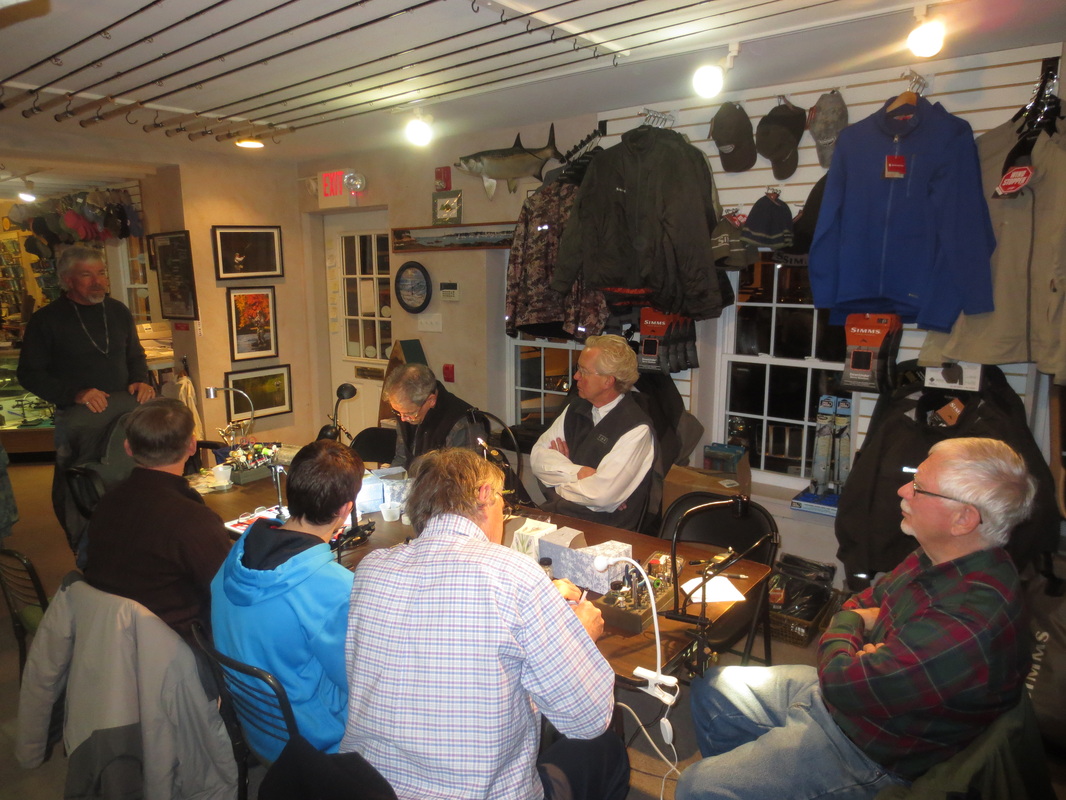
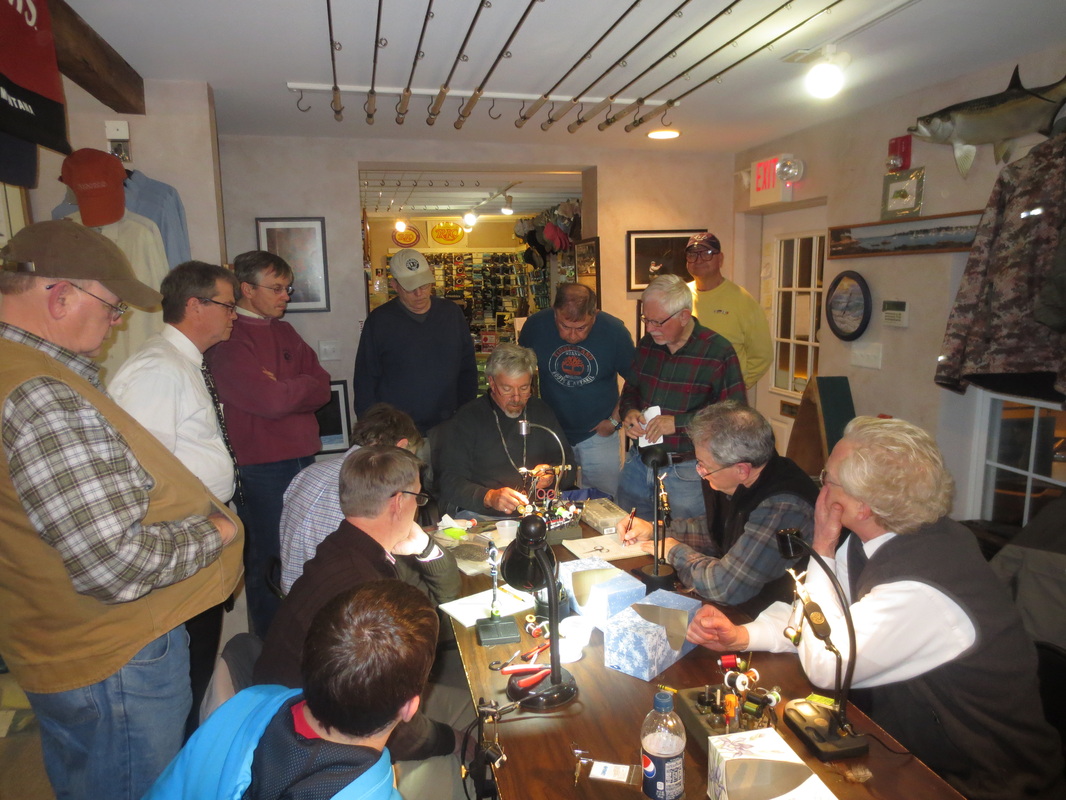
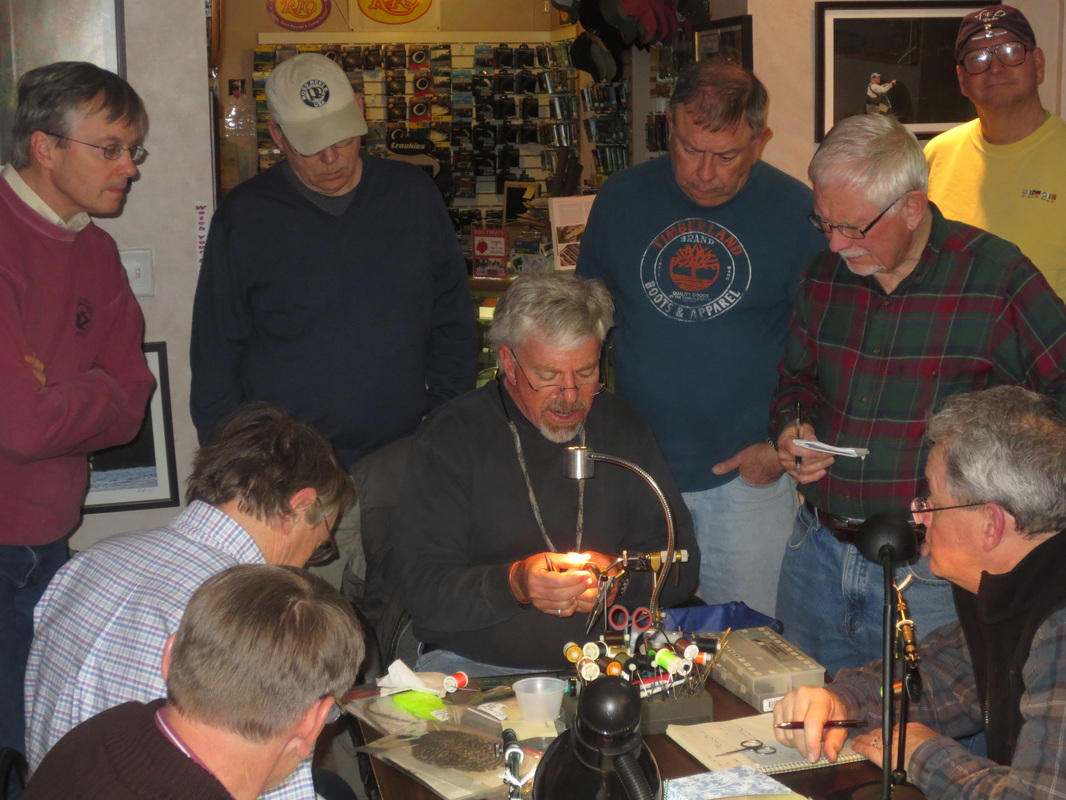
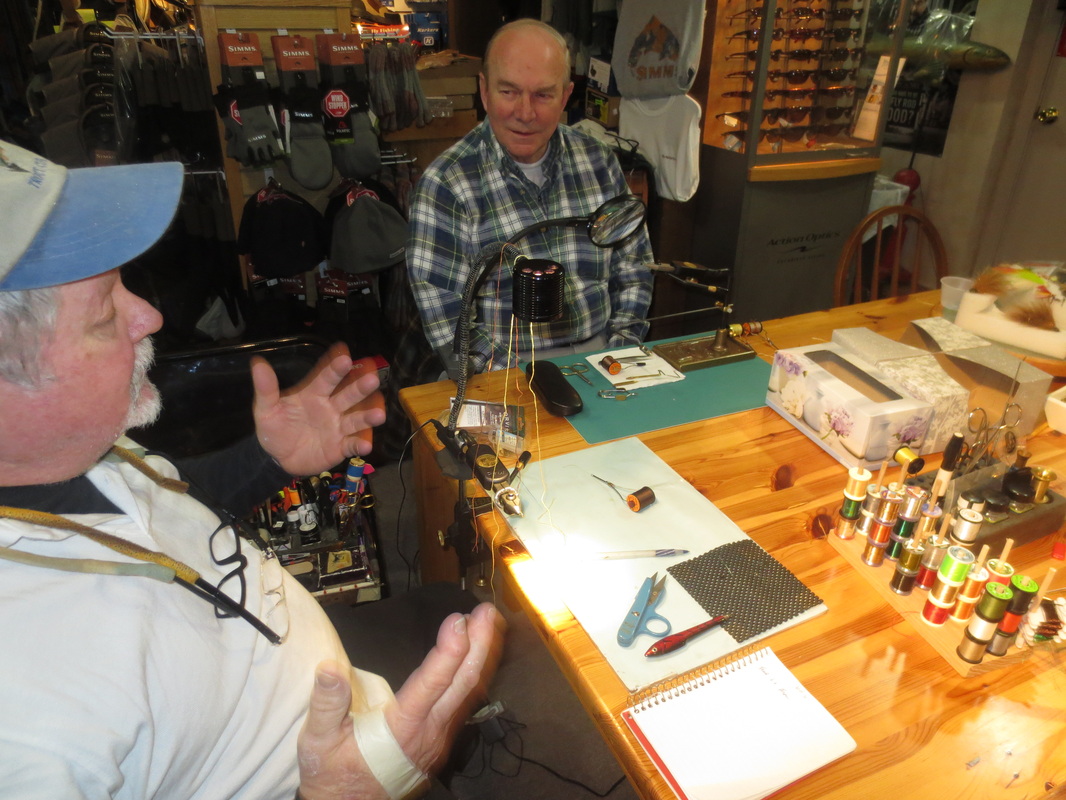
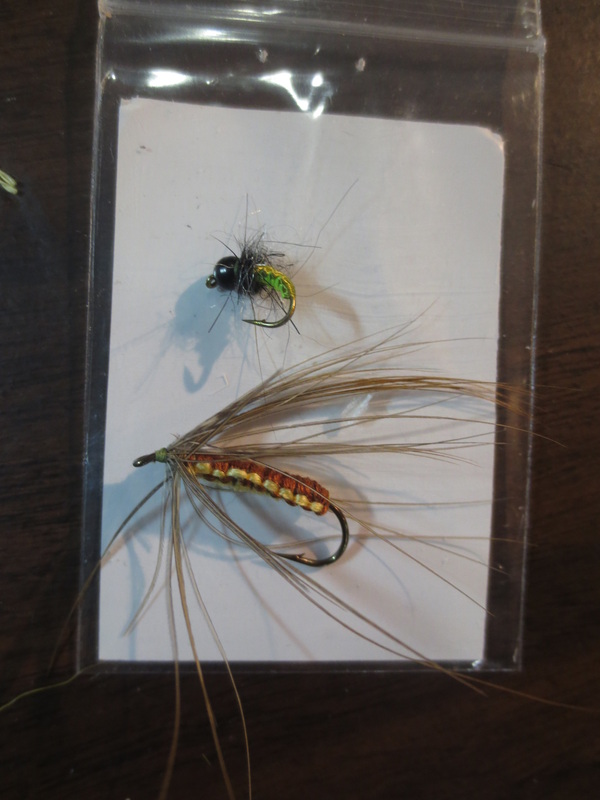
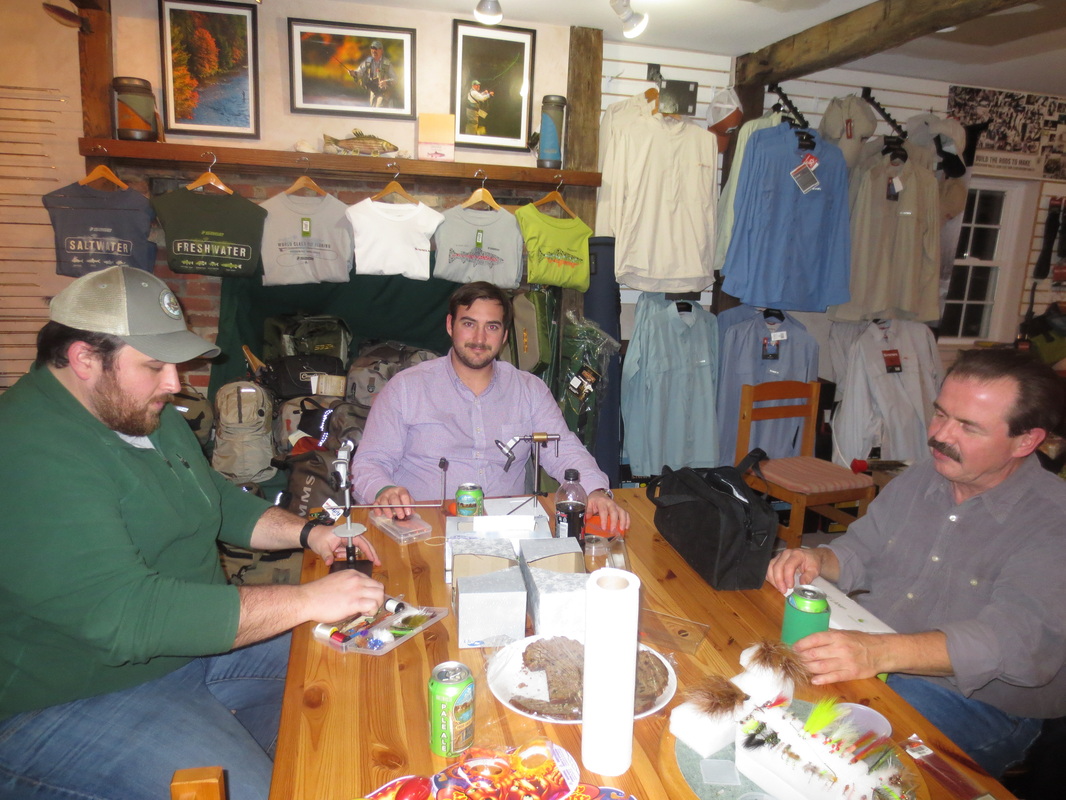
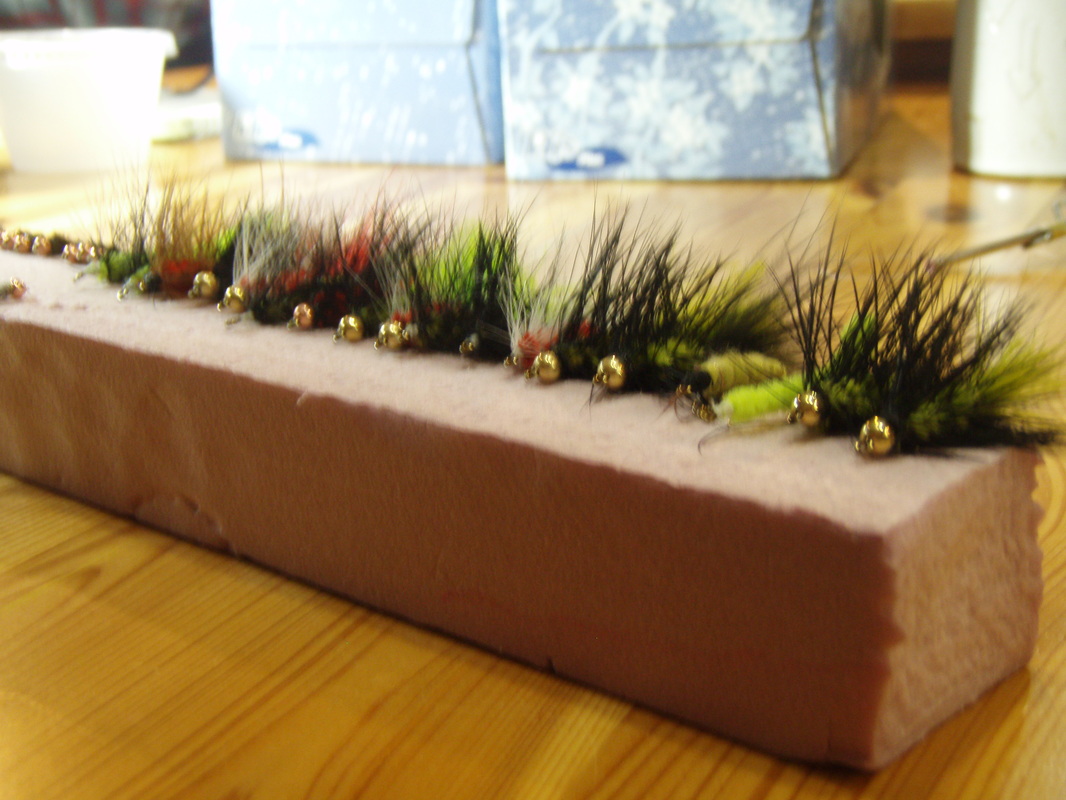
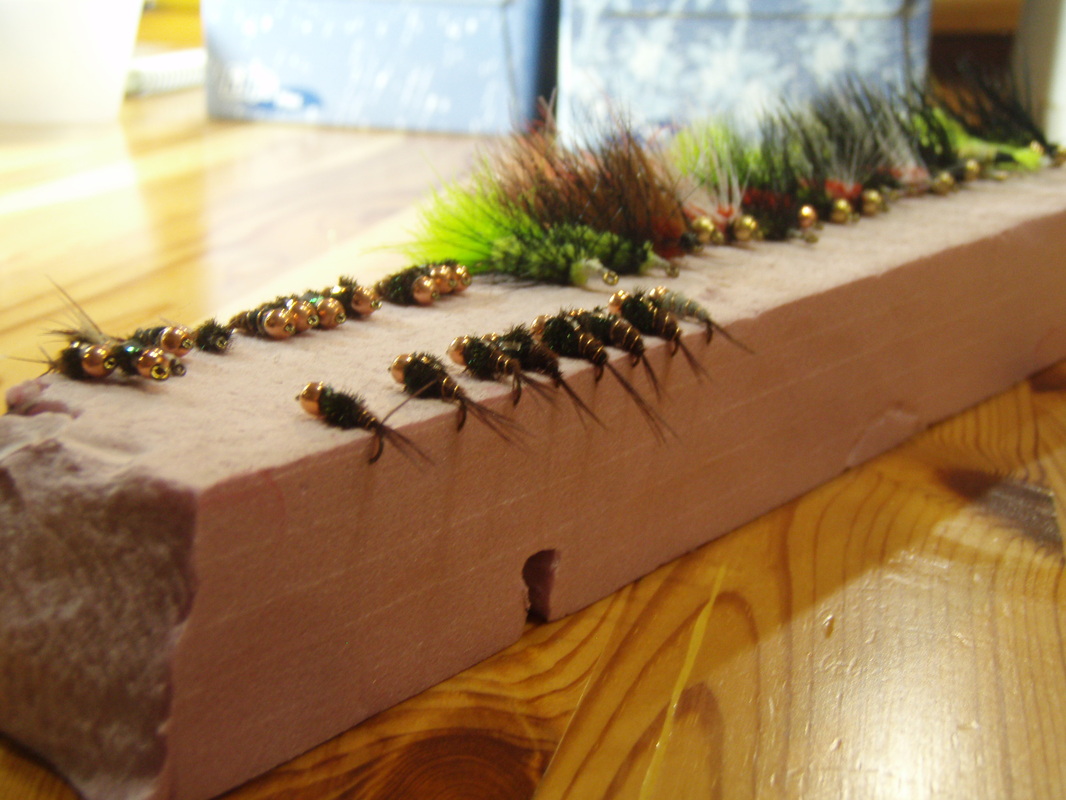
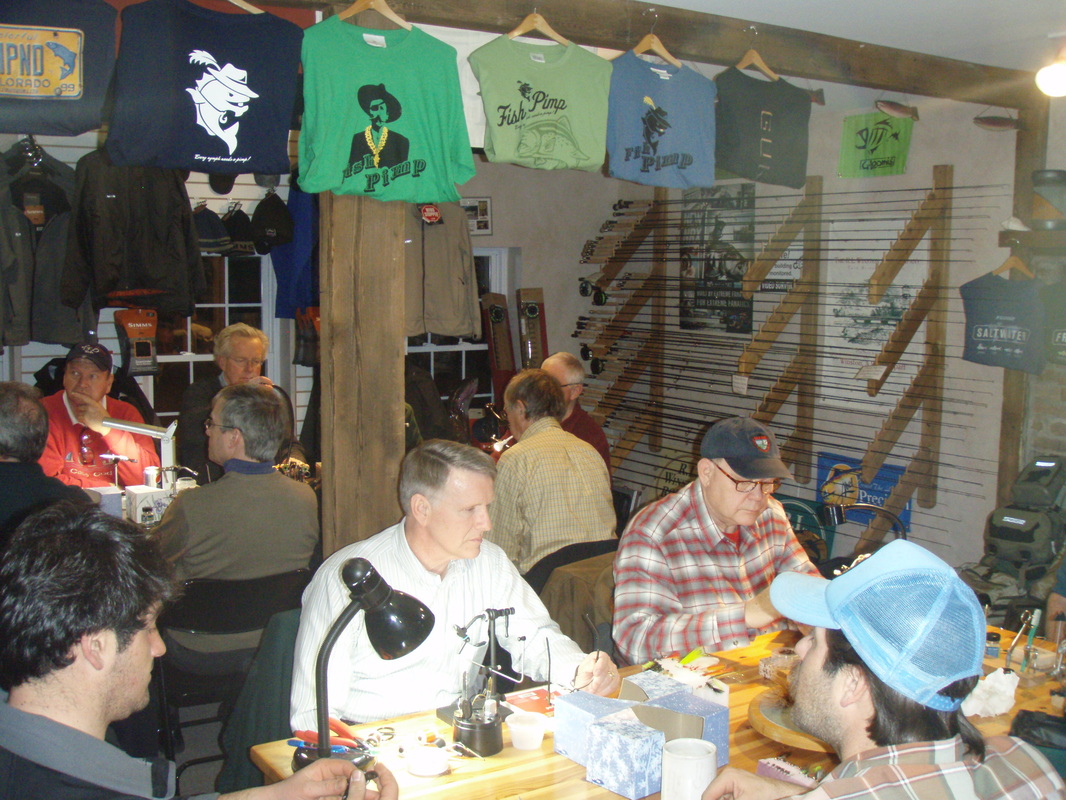
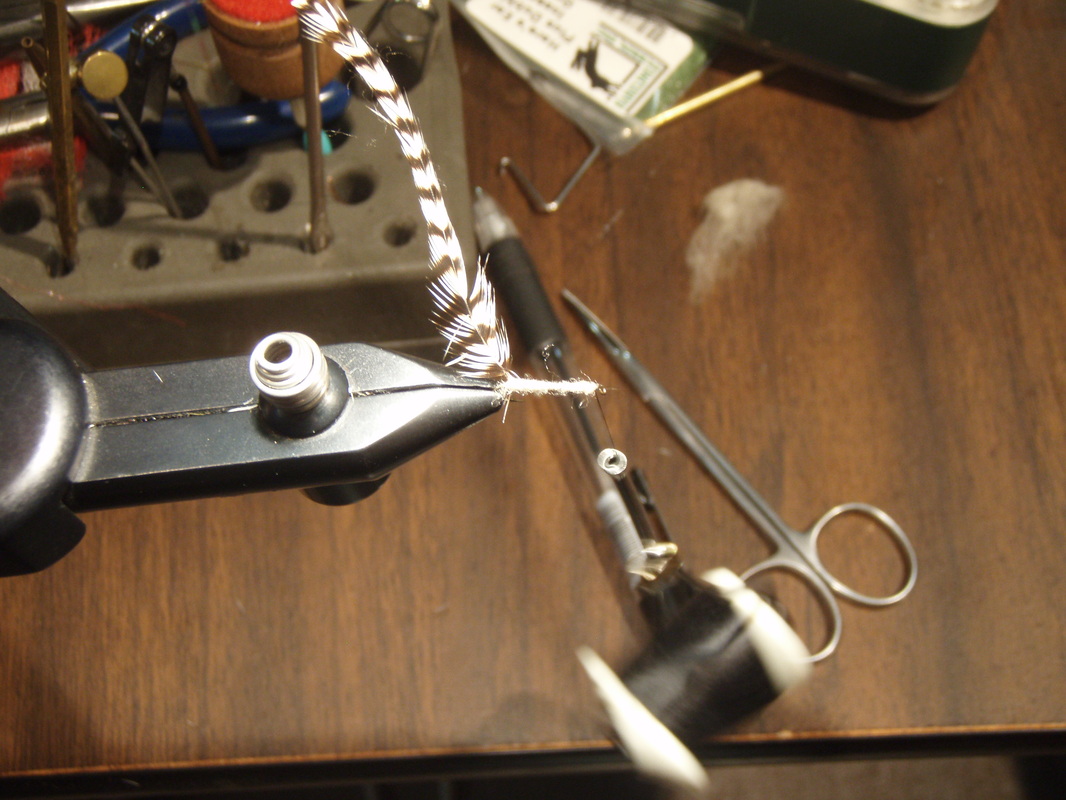
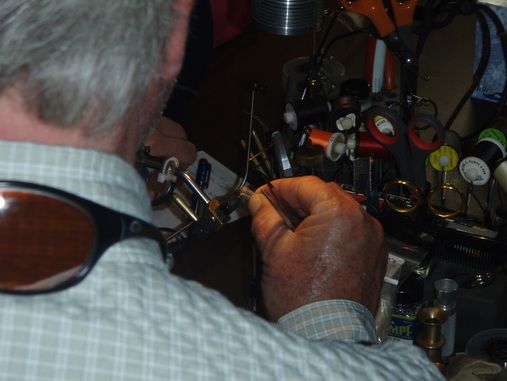
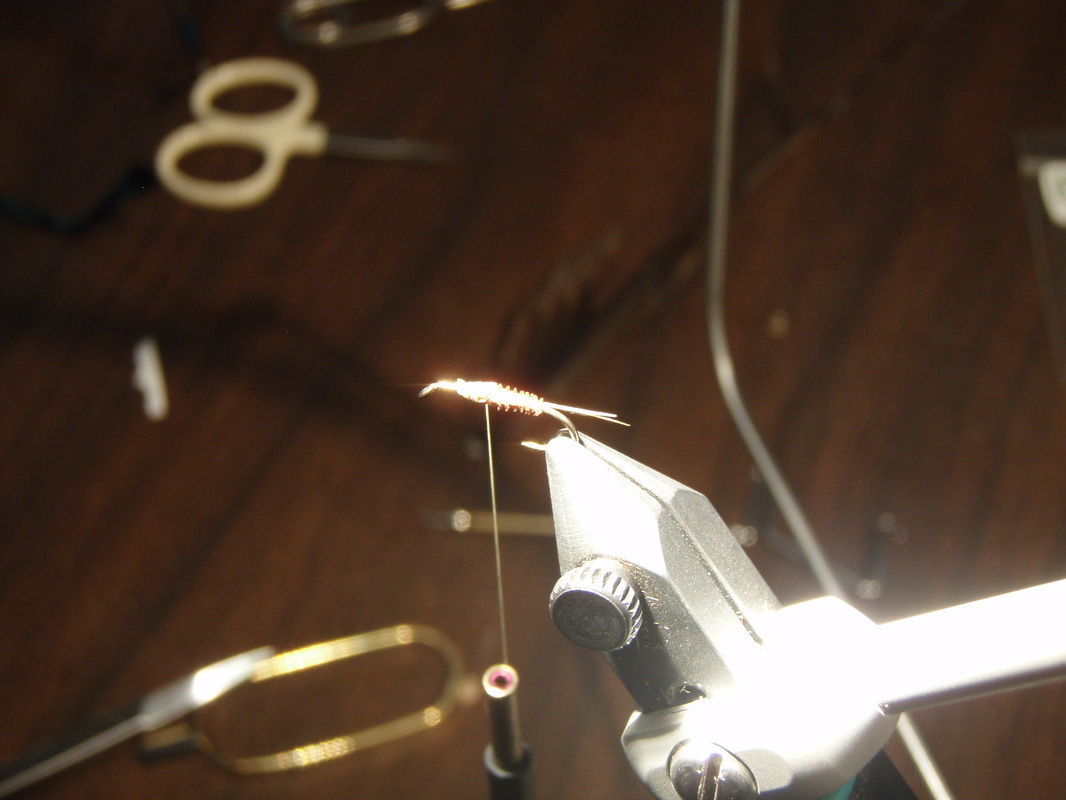
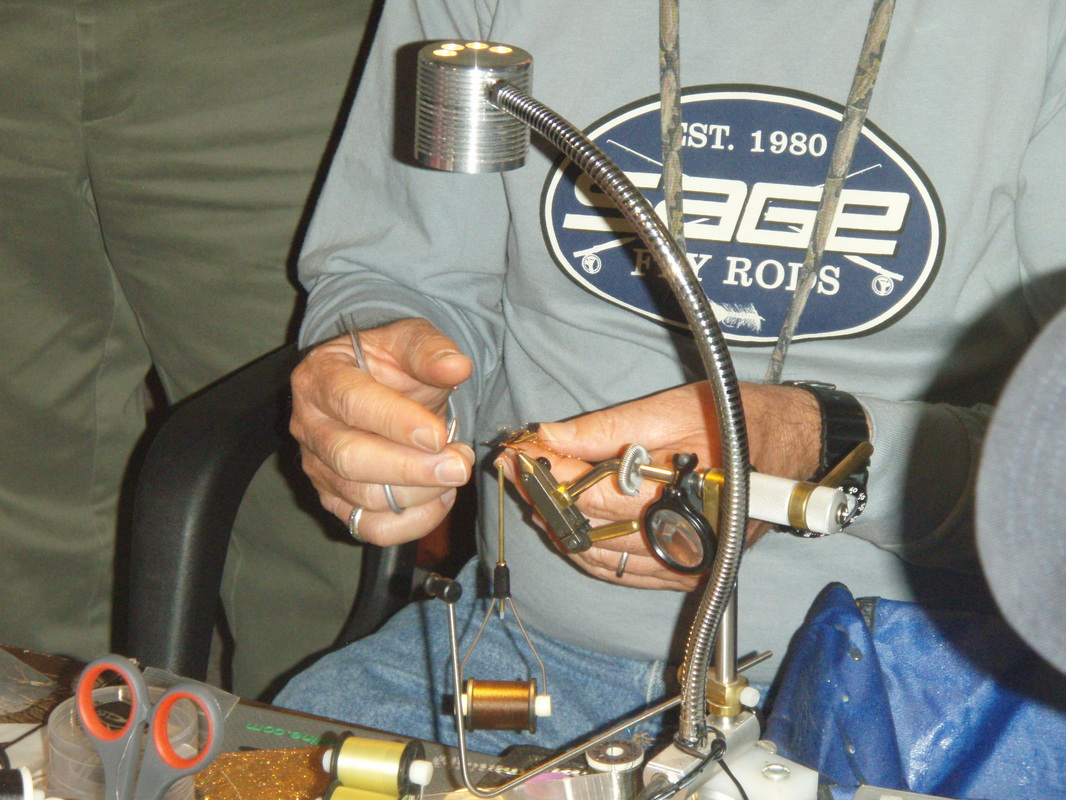
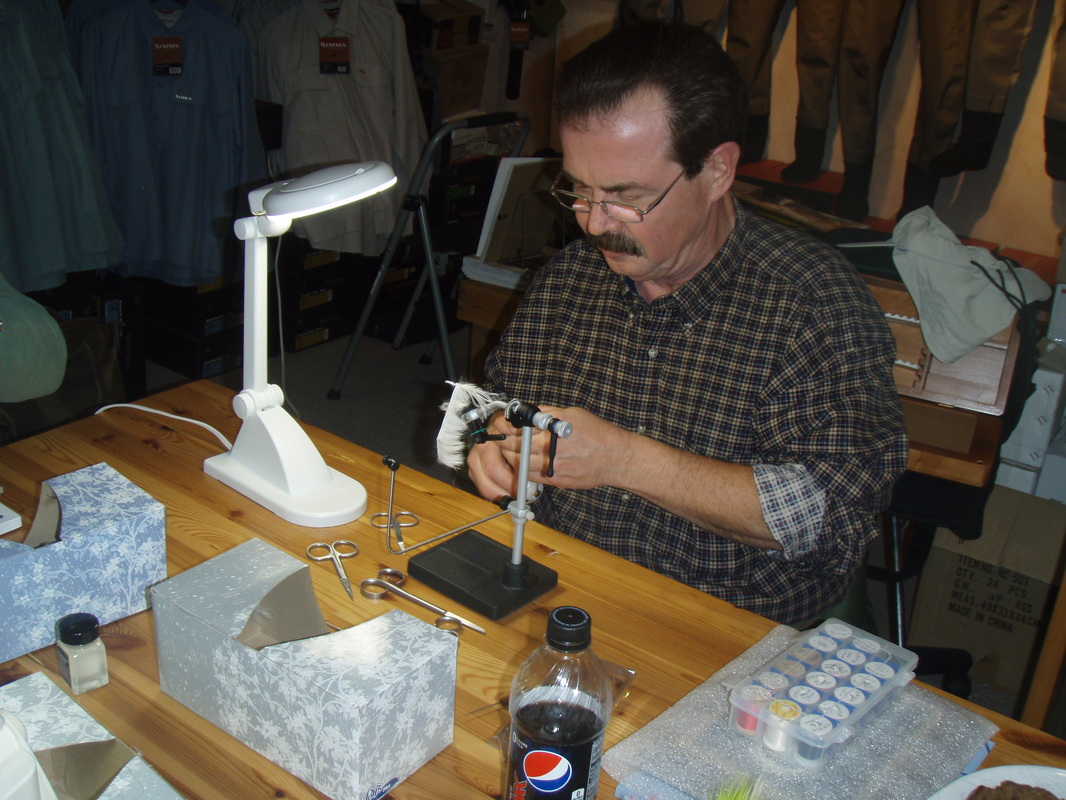
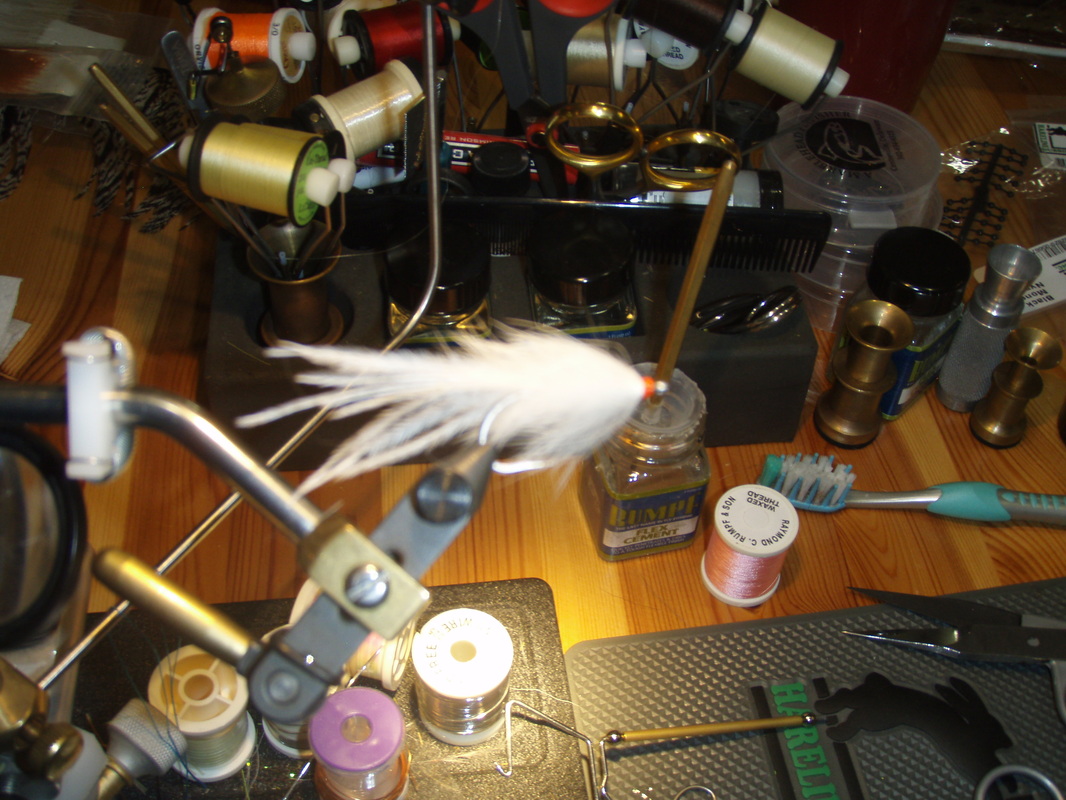
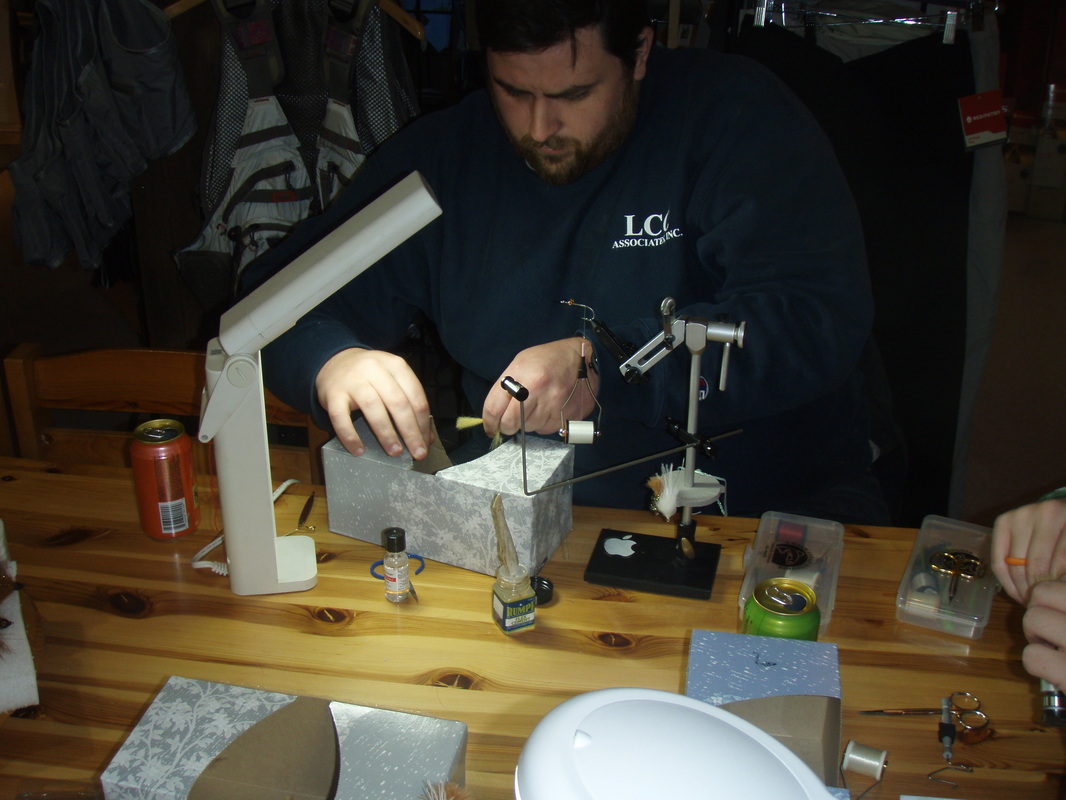
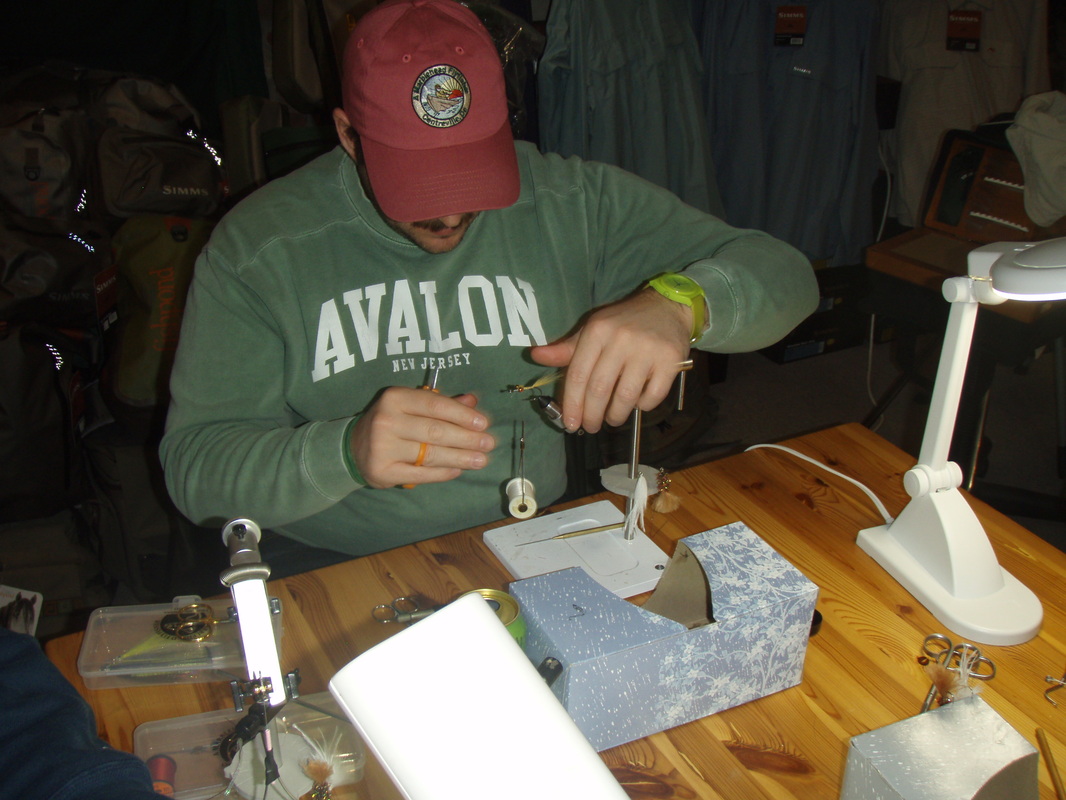
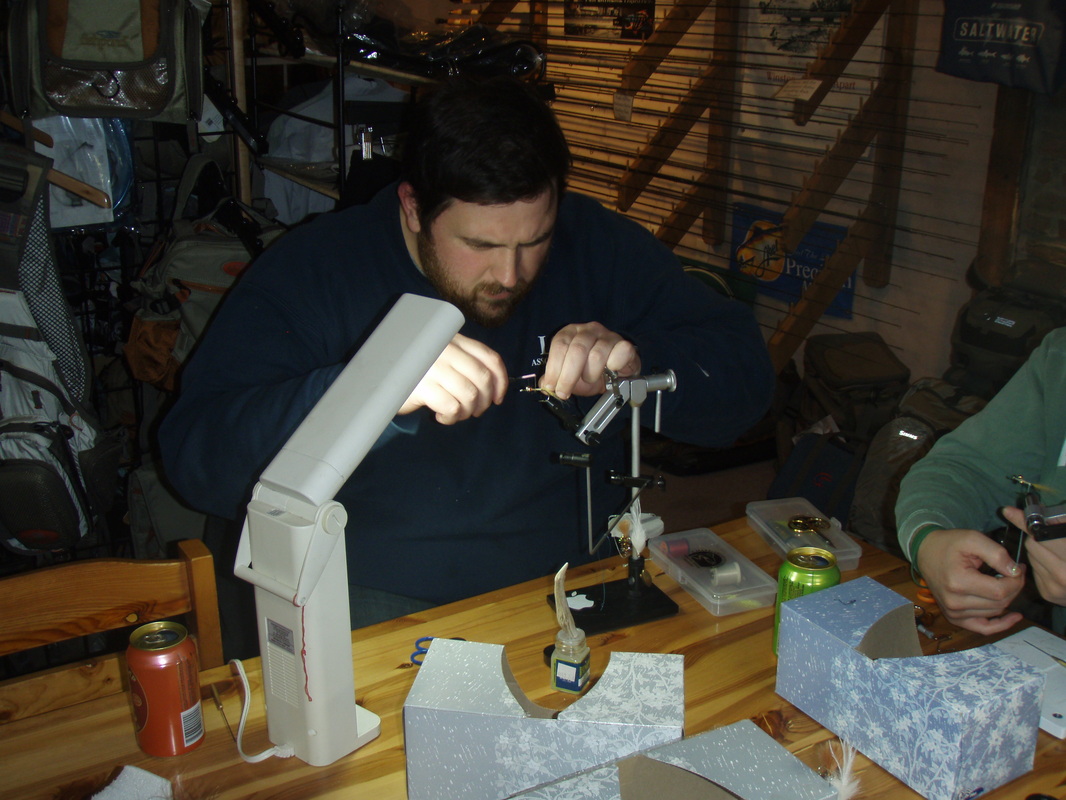
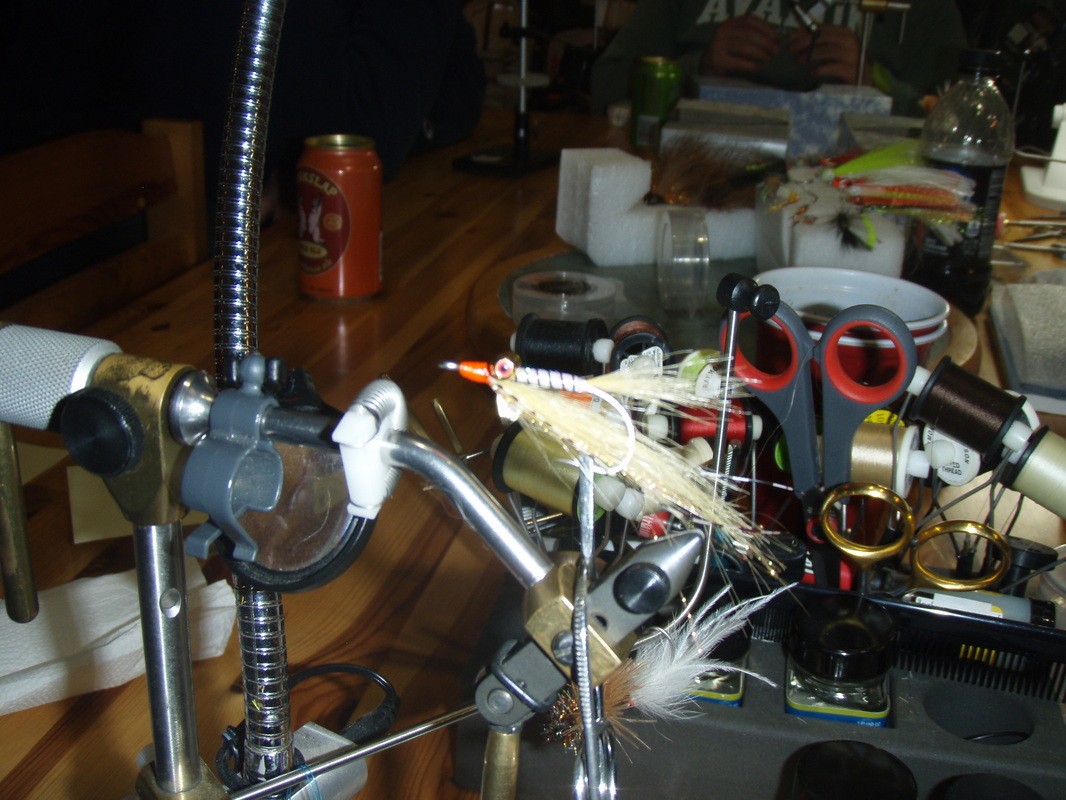
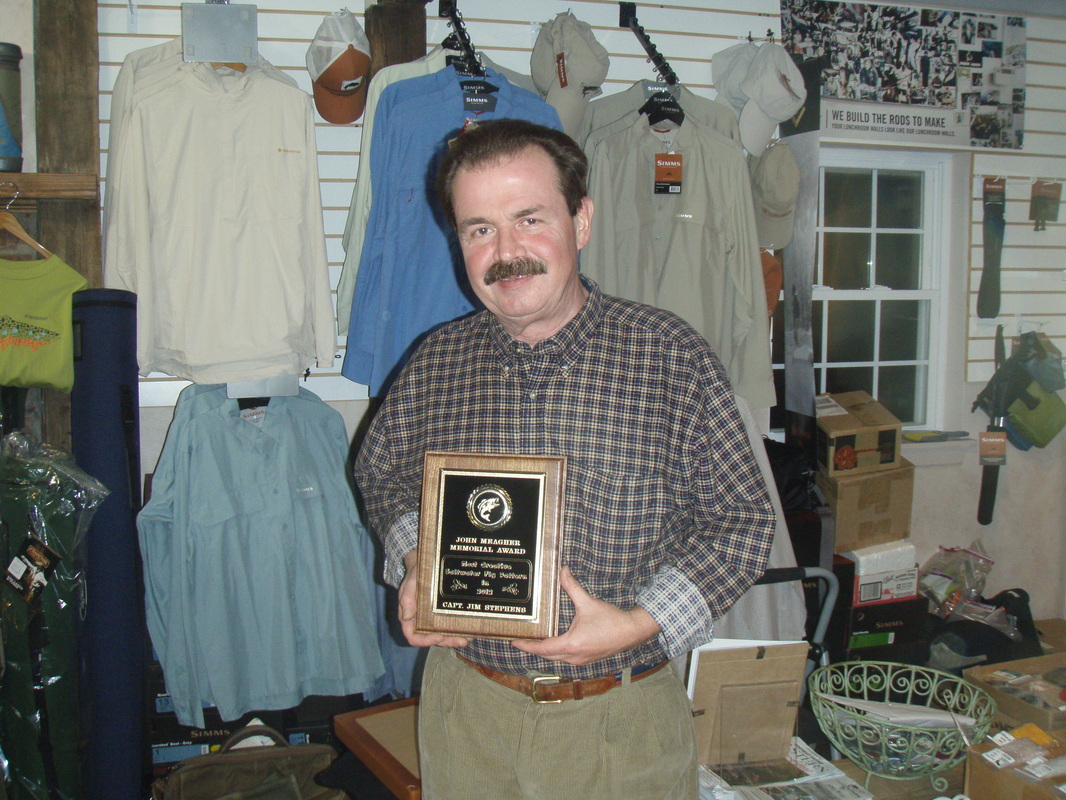
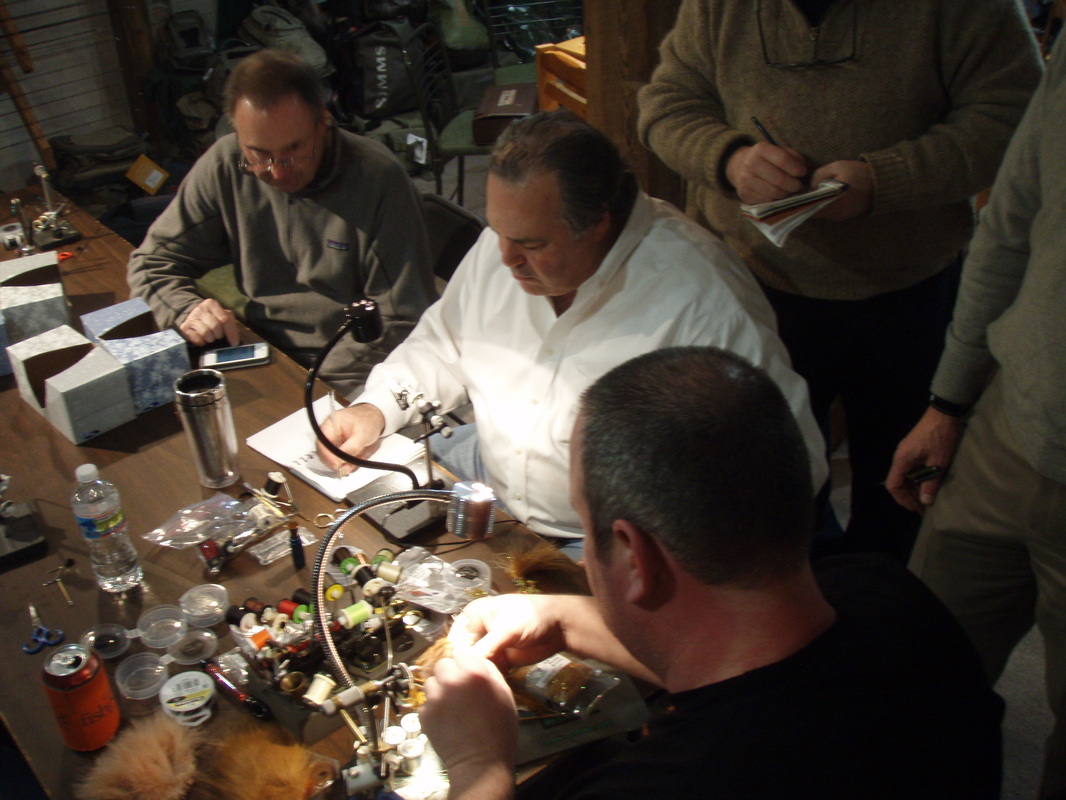
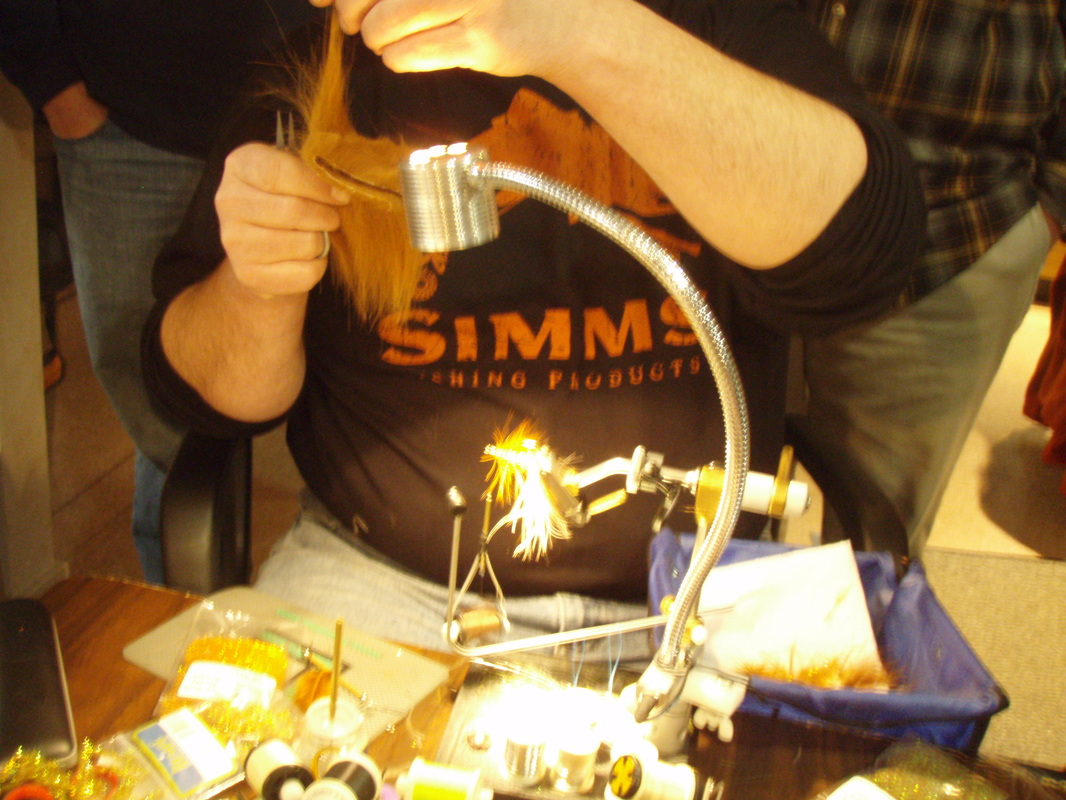
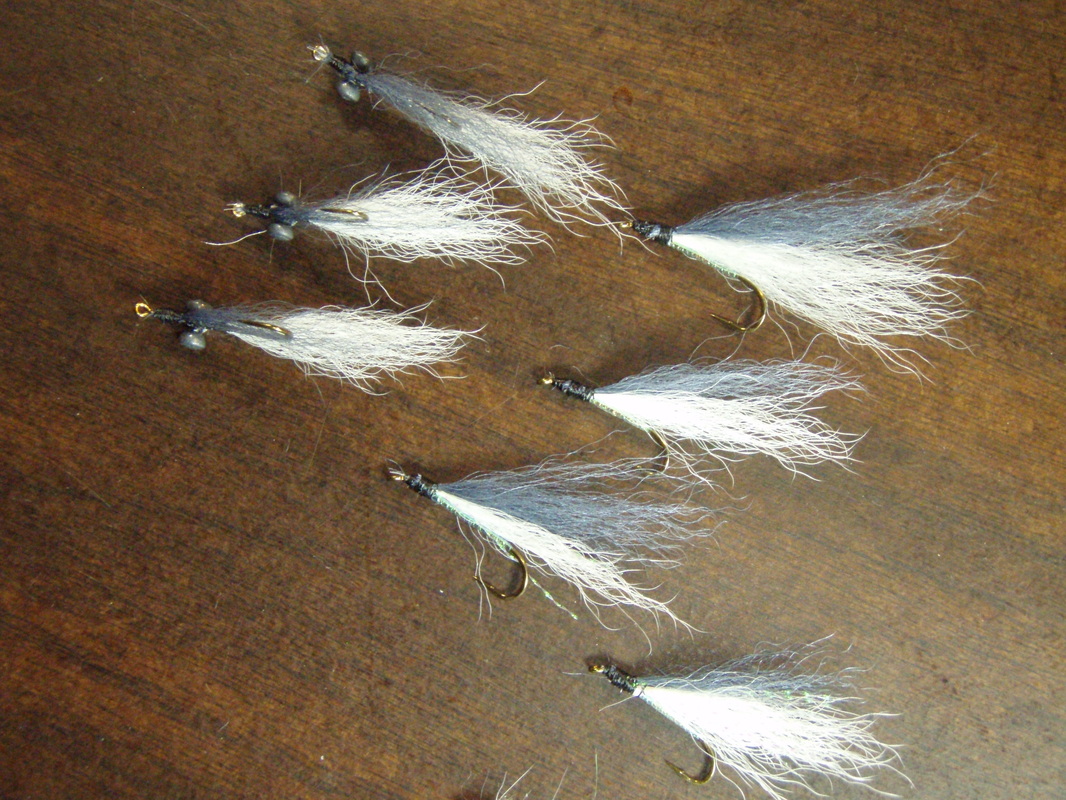
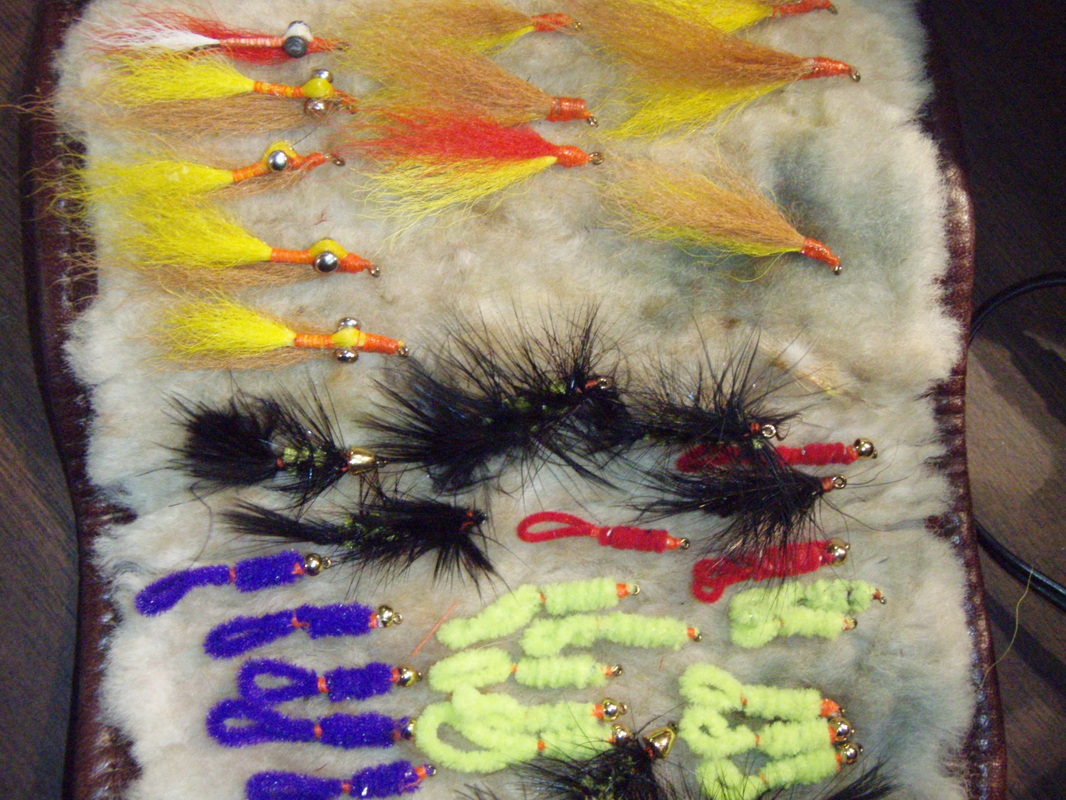
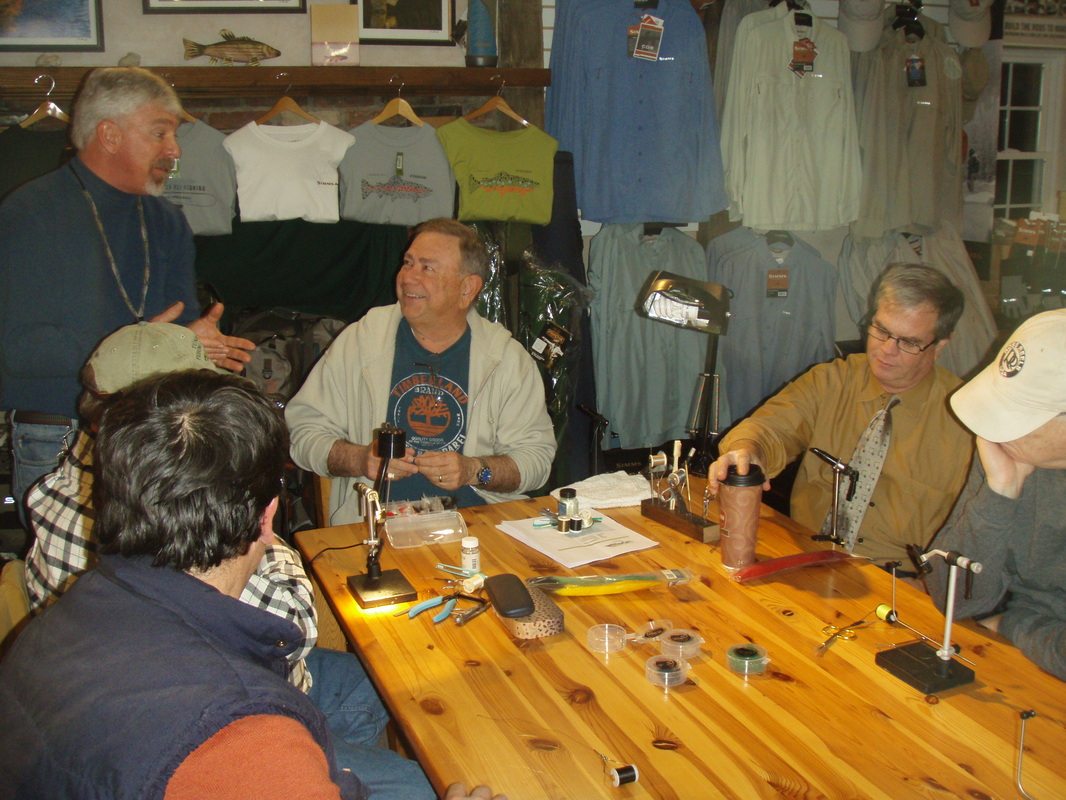
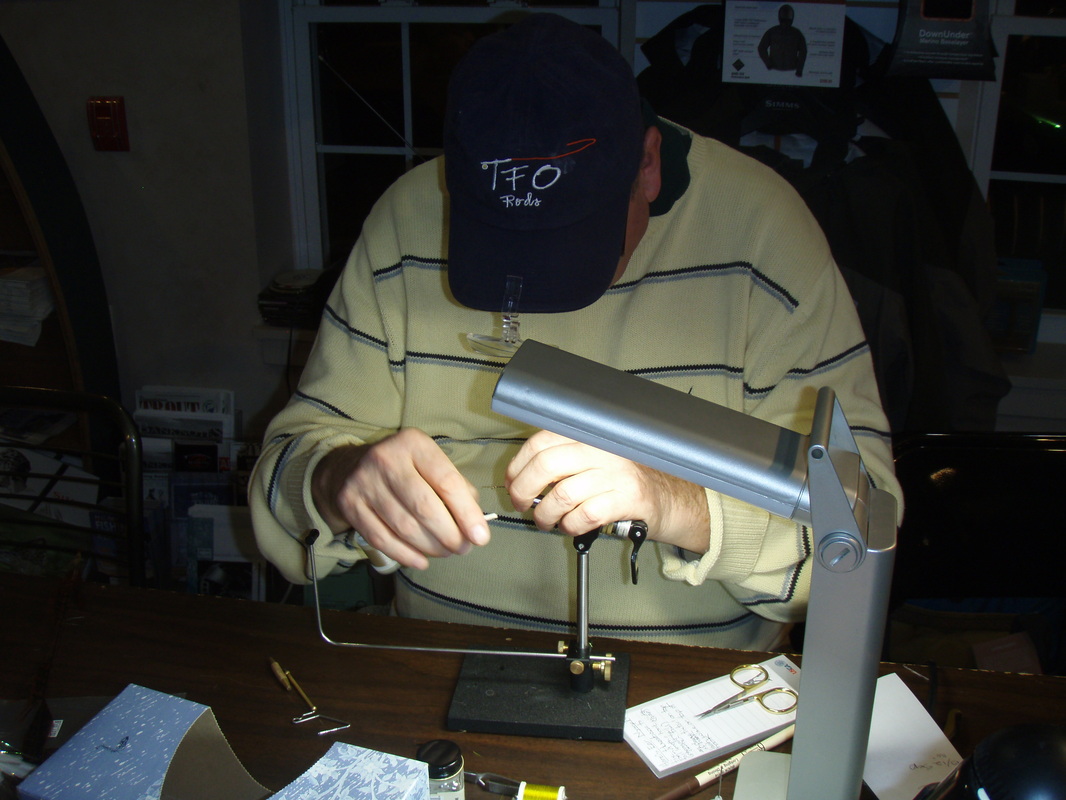
Here is a story we would like to share with everybody. We got a call at the shop on Tuesday from Robby who was in our winter fly tying class. It seems Robby and his father Rob Sr. were fishing the White Clay creek on Monday afternoon, when they arrived at the parking area on Good Hope road they saw Jim and Owen who are also from the fly tying class. They spoke for a while before heading out to fish. After having a good afternoon on the river Robby and his dad returned to the parking area to find that Jim and Owen had already left. Where Jim and Owens car had been parked they noticed a neoprene reel case on the ground. They picked up the case to find a high end first generation Ross Evolution fly reel. Not having Jim or Owens contact information they decided to take the reel with them and call the shop the next day. Upon hearing the story we contacted Jim to ask if he was missing a reel. Turns out that Jim had been frantically searching for his favorite Ross reel for two days and couldn't have been happier when we told him we knew where it was. After making arrangements to pick it up the next day, and ironing out all the details we figured it was a done deal. Shortly there after Jim called back and said he wanted to do something nice for Robby to reward him for his honesty. The end result is that Jim got his reel back and Robby is the proud owner of a C&F Midge fly box.
Its nice to know that we are all a part of a tight knit fly fishing community. It is also refreshing to see such a high level of honesty and integrity from such a well mannered young man. It is apparent that Robby has a good head on his shoulders and we at the shop are thankful to have him as part of our fly fishing community. From all of us here at A Marblehead Flyfisher we would like to say thank you! Well, I must say I am a little bummed as I write this because this is the last of the 6 week winter fly tying classes. The past six weeks have been a fun and informative time hopefully for everyone. I know it was for me. We will get a week break and then go right into the Smallmouth class. I am really looking forward to that as I think that class will be a blast. The Tuesday class came full circle with the Catskills style Adams. We dressed it up a bit with the use of McFlylon for the wings. We used red to make the pattern a "high-vis" version of the original. Everyone did a great job as the results were impressive. Lets take a look at some homework first. I wanted to share this picture with everybody. This is Andrew's fly box. It was empty when we started the class 6 weeks ago as Andrew just started to tie. I have often said if you come to class, embrace the instruction, do your homework, and you will have a nice selection of flies to start the season with. Well, I think this picture says it all. Looks like Andrew will be ready once Trout season gets into full swing. Great Job! Here we see Terry doing the intro to the class. Here we see the McFlylon wing being applied to the hook. We used white in the class, then Terry did another fly later with a red wing. We were really digging the red! As we progress through the fly the body was dubbed and the hackle was wrapped. Everyone really did a great job with this fly. The Adams is not the easiest of ties and we are proud to say the guys nailed it. And here is the final result with the red wing. Tying quality dry flies is an art form in my opinion. Terry did a great job, as always with this fly, it is a pleasure to watch a great tyer tie a clean fly. If we had any doubts about how much the Wednesday class liked the "hatch' class we did last week all we had to do was take a look at the homework. Everyone did a great job and brought in some really nice flies. Lets take a look. We had a few requests to do a "Weave" class again this year. That was awesome for me because I love tying woven flies and was excited to teach again. The first pattern was a Polish woven Caddis Larva. This was a repeat of a fly we did last year, I figured that would be a good way to knock the rust off. The second fly we did was a variation of a fly called the Cary Special. We used the Pheasant rump feathers, but substituted the body with a split knot weave. Lets take a look at some of the guys in action. Terry D and Chris set up and ready to start the weave. Gotta love when 3 bobbins are hanging off of the fly! Here are the completed flies. The Polish woven Caddis on top and the Cary special variation on the bottom. I had a blast teaching this class, Thank you for allowing me to do it. Spoon flies were the theme for the Thursday night Saltwater class. We did two flies with two very different types of construction. The first one was the wire epoxy method. For this fly you tie a piece of wire on both sides of the hook shank at the bend. You then attach the wire at the hook eye making the shape of the spoon. The space is then filled up with epoxy. The second spoon was constructed by pressing an old metal spoon into a blob of Silly putty forming a mold. You then place the hook in the mold, fill up the space with your favorite UV resin, hit it with the UV light and you have a simple, effective fly. Lets take a look at a few pictures from the class. The guys getting ready. Look at that plate of Zucchini bread in the middle! The Tuesday and Wednesday classes should take notice of this. Here are the mold products Silly Putty (really, the same stuff we played with as kids) and Crazy Aaron's thinking putty. www.puttyworld.com Note the Loon UV clear in the back round. We would like to thank all of the participants in the winter classes. We hope you had as much fun learning as we did teaching. These were some of the strongest classes we have had to date and we owe that to you, our valued customers.
Thank you all! Not just a book that focuses on "tight line" nymphing the latest book by George Daniel is a complete how too for the angler that wants to expand his or her knowledge of this very productive way of fishing. Starting with the introduction to the nymph "system", Mr Daniel lays out the gear, rigging, casting techniques, and patterns that go into the makeup of a successful day on the river. With chapters dedicated to casting weight, tight line tactics, suspension tactics, as well as how to fish different types of water, this book has something for the beginner and seasoned anglers alike. Beautiful full color step by step photographs clearly illustrate the different types of casts the author is demonstrating. Mr Daniel takes you into his personal stash with full page color photos of his competition fly boxes. Personally, I found the information on building leaders and the over 50 pattern recipes with color photos worth the investment alone.
A Marblehaed Flyfisher has this coffee table quality hardback in stock. Stop in and get your own copy of Dynamic Nymphing and take your nymph fishing to the next level. The Tuesday night class moved from under the water's surface to on top of it this week as we tied the Elk Hair Caddis by Pennsylvania's own Al Troth. For many in the class this was their first attempt at a dry fly and the results were outstanding. We can really see the progression and improvement by the tiers in this class. Before we get to the Caddis fly lets take a look at some homework from last week. Cory missed a a couple of classes and came in for a few private lessons to get caught up. By the look of his block he is doing a great job of making up for lost time. For more information about private lessons click here. I failed to get a picture of some flies Jim R tied. He did not have the pearl mylar at home so he decided to use silver tinsel for the wing case. I must say these were some of the coolest flies we have seen in a while. Good job with a material substitution Jim. A few shots of the class intro. Here Robbie is getting ready to wrap the hackle over his dubbed body. Good to see he is giving that new Regal vise he got for Christmas a good workout. Here Terry is putting the stacked wing on top, the last step to finishing the fly. A pattern that is just too versatile not to have plenty of these in your box. You can drift it like a normal dry, you can skate it, or you can even drown it with split shot and fish it under the surface. Tied in black it is a great match for our early black Stoneflies that we usually start to see in March. Just a great all around pattern, we are happy you guys now have the skill to tie it. It was hatch night in the Wednesday night class. We have had a few requests to "tie through a hatch" so we decided to tie a 3 stage Sulphur life cycle consisting of an nymph, emerger, and a sparkle dun. The flies were received great by the class and this is something we will do more of in the future. I was really excited to see the homework from last week. Here you go. Here are two flies tied by Terry D. I am really excited about this pattern and cant wait to get it on the Smallmouth river this spring. Ed, Paul, Jimmy T, Nelson, Brian and Chris all had GREAT homework samples. I guess they looked so good I forgot to photograph them, Sorry guys. Biot bodies was the theme of the night as all 3 flies we tied used Turkey biots for the bodies. A Pheasant Tail is spot on representation for the Sulphur nymph. The pattern we tied was very PT like, but we added an Ice Dub thorax. Here is the finished fly. I really like the look of biot body flies! For the emerger we followed the same tying progression. Instead of the Pheasant fiber wing case we did a "sighter" using a dubbing ball of Ice Dub on top of the shank. A really cool technique that has a ton of possiabites for many other patterns. The nymph is in the hackle pliers on the bottom and the emerger is in the vise on top. Two great patterns for Sulphur season. For our third pattern of the night we followed the same tying progression as the second, we just replaced the sighter with a poly wing. This pattern could represent many different stages of a Mayfly's life; late emerger, dun, or spinner. This class was a blast. We tied three flies and showed the guys how using similar techniques and similar materials you can tie your way through an insect hatch rather quickly. Hopefully you guys will apply this system to other flies and insects. Who knows, you all might be carrying "hatch boxes" this spring. It was a three fly night in the salt class this week also. We tied a Schminnow, Gary's Albie fly and a Andros Bonefish fly that was showed to us by our good shop friend Andrew Neithe. All three of these flies have crossover potential and can be fished in our local waters. I have caught many a Smallmouth on the Schminnow, originally designed by Norm Ziegler as a Snook fly. The Andros Bonefish fly could be a Crayfish and I am sure a big 'ole Flounder would have no trouble trying to eat one of them. Gary's Albie fly is an all around great bait fish pattern, quick to tie and effective everywhere. Lets take a look at the class. Looks like the Ostrich is already on the tail and Jim is getting ready to palmer the cross cut Rabbit up the hook shank. The finished fly. K.I.S.S. method at its best here. Why is it that the most versatile, effective patterns are usually the fastest and easiest to tie? The next series of pictures shows the guys going through the progression of the Andros bone fish fly. Last but not least was the Schminnow. Again a simple yet extreamly effective pattern that can be tied with only 3 materials. You can make these as simple or as elaborate as you want and the color options are endless. As a capper to a great week of fly tying Jim shared with us the plaque he won for taking first place honors in the tying contest held by the Salt Water Fly Anglers of Delaware a few weeks ago. Congratulations Jim.
With Fly tying classes in full swing and our new Smallmouth class getting ready to start we thought it would be a great time to showcase some of the great new products from Renzetti. Renzetti has long been the leader Tru- rotary fly tying vises, this year they have added 3 new traveler vises to there already full line of great tying tools. ![]() The Renzetti Traveler 2000 offers the beginner as well as the experienced tyer a True Rotary vise and a long lasting piece of equipment with the great features that Renzetti is known for. The vise offers quality, versatility, portability, and affordability ![]() Taking a cue from the many positive responses from tiers who love the look of our stylish Special Edition Master vise we are now offering the Traveler 2300 Series vises. Like all Renzetti's its great looks are befitting its great performance. When you have to travel this is the vise you want to tie on, and if anyone's watching you'll look good doing so. Available with standard or saltwater jaws this is a great package in a black anodized finish. ![]() Vise Travel Bag Bag this! Or at least your valuable fly tying goods when you're on the move. Renzetti is proud to offer a virtually indestructible padded travel bag made from 1680 grade ballistic material to store your vise, tools and other essential fly tying items. The bag features a cleverly designed zippered removable center divider so you can store and organize items as conditions dictate. ![]() Renzetti offers a full line of bobbins to accommodate different tying needs. They feature bobbins with varying combination of tube lengths and diameters. The standard length tube is 2" and the extended length version is 21/2". The small diameter tube is 3/32" and the large diameter tube is 1/8". With the exception of the Ultra Midge Bobbin and the Lead Wire and Tinsel Bobbin, we use rubies in our bobbins for ultra smooth thread delivery and excellent wear resistance. Our unique, tapered protrusion insures maximum thread spool retention. Renzetti Bobbins are manufactured in the USA. ![]() The Renzetti Soft Tool Caddy was designed by Andy Renzetti and it is made with a special non skid foam. This tool caddy is like no other. Because of its special foam the tool caddy sits firmly on any surface and its design accommodates any tool. This may well be one of the most important pieces of tying gear you can purchase. Great for keeping all of your expensive tying tools neat and organized. Terry has been tying on Renzetti vises and using their products for over 25 years. He still has the original Traveler vise he purchases at an Army Navy store in Chicago, heck that is the vise I use to tie Weenies, Worms and Shad flies for the shop. The shop is fully stocked with Renzetti products to fill all of your tying needs. To see more of the great Renzetti products click here. If you would like to "test drive" these or one of the other great products from Renzetti stop in and take a look, you will be glad you did.
This past week was a great week of fly tying classes. I was instructing this week as Terry was on vacation. I must say I personally have a blast instructing these classes, and I want to thank Terry and all of the members of the class for allowing me to do so. The salt water class opted not to meet this past week due to work obligations. I was bummed to hear that because I was really looking forward to showing them one of my favorite salt water patterns, maybe next time. I apologize ahead of time because the pictures this week are a little light. We had a camera malfunction on Wednesday night and on Tuesday we just plain forgot to take them. Tuesday night we tied the Flashback Pheasant Tail. This is arguably my favorite nymph pattern and has accounted for many, many trout over the years. I demoed my favorite color pattern, copper bead, maroon PT and copper wire. This was a hit with all the attendees and I am looking forward to seeing the homework next week. The second fly we tied was a speed version of the Pheasant Tail, the Teeny Nymph. A true "box filler." You can bang out several of this effective pattern in short order. The Wednesday night got a real treat when they found out we would be tying with 6/0 thread and number 2 hooks. The "Headbanger Sculpin" was the pattern of the night. This articulated Sculpin pattern was a blast to tie, I will be tying up several for my personal boxes this winter. The original pattern calls for 2 hooks and a wire / bead connection to join the two together. Due to the fact that many states are banning double hook flies and to give the fish a bit of a break, we opted for a single hook and a Fish Skull Articulated shank for the connection. I think the end result came out great. Really a fun pattern to tie, I hope to see an abundance of homework from the guys this Wednesday night. Again I would like to Thank everybody for allowing me to instruct the classes this week. This is something I look forward to doing more of in the future.
Well, once again the tying classes were a big hit this week. It is really fun for us to see the progression of each tyer's skills and to see the week to week improvement. The Tuesday class is a prime example of this. We introduced the dubbing technique this week in the Tuesday class as we tied a modified version of the Hares Ear Nymph. The class really did well with this new technique, but lets see some homework first. Here Terry is giving the intro into this weeks class, the Hares ear Nymph. Our modified version of the Hares Ear was a hit with all of the attendees. True to the original in spirit with a few modern material upgrades this workhorse of a fly is sure to bring many Trout to hand. Fly #2 for the evening was the Bead Head Caddis Larva. A simple yet VERY effective pattern that works in all types of water. Look in any seasoned nymph fisherman's fly box and you are sure to see plenty of this pattern. The Wednesday night class tied an emerger pattern with a CDC wing and a feurrled trailing shuck. The feurrling technique is something Terry has been wanting to do in a class and it was received very well. In fact I think most would agree this week was one of the best advanced classes we have had. Lets take a look at the homework from the prior week. We used McFlylon to ferrule the trailing shuck, an unbelievably simple technique that really gives a cool effect. we used brighter material for the demo fly, but the sky is the limit. As mentioned this was one of the best advanced classes we have had so far. Thanks to all the attendees for a great night, I cant wait to see next weeks homework. It was Surf Candy night in the salt class. Terry did 2 versions of the popular epoxy fly, the standard Surf Candy and a slimmed down version more Representative of the sand eel. Here we sit at the halfway point of the winter tying classes. We truly hope everybody in the classes are having as much fun tying as we are teaching. These classes are a great way to meet new people, tie some flies, and have a good time. You know, we really should do more of this...
|
Archives
January 2019
Fishing
Keep up to date on all things flyfishing. Categories
All
|